Wednesday, June 3, 2015


PETER RABBIT CAKE

This cake was SOOOO fun to do!! 
The customer wanted a one-tier cake with a "fence," a rabbit, and the little boy's name spelled out. I wanted to add little cabbages so I decided to put the letters inside five little cabbages and I think it came out adorable. I love the fence, too.

PREP WORK
The first thing I did was all the prep work. I did everything I could ahead of time: leaves, a variety of flowers, the rabbit (added the jacket at the last minute), the gold buttons, the basket, potatoes, pots, cabbages, watering can, and I mixed the "dirt" and covered it and put it aside.


Believe it or not, the watering can only took about 20 minutes total. It was just a matter of making the pot out of gumpaste and hollowing out the middle with my hand, making a tiny spout by rolling a piece of gum paste, adding a piece of macaroni inside, and an indention in the end of the spout, and cutting two tiny handles. After they dried, I painted them gold and then eventually gum glued them together and let dry. Easy-peezy!

PETER RABBIT
I shaped the rabbit and let dry for three full days. I used a small ball tool for eye sockets and just put two small balls of black fondant inside. After the gum paste was dry, I dry painted him. I added the jacket to the torso first (without arms). I then added the jacket onto the arms separately and secured the arms to the body (using macaroni and pre-made holes) and attached with edible gum glue. I propped the arms up overnight until secure and dry, then added the gold buttons and his little cottontail.


PROBLEM WITH THE EARS
 One problem I had is that since I use thin sticks of macaroni when assembling my figurines (so that everything is edible), the macaroni to one ear broke off; the piece of macaroni inside the rabbit's head was dried inside and I was unable to remove it without damaging the head. So I had to insert a thin, sturdy wire into his ear and insert that into his head right next to the macaroni that was already in place. I used edible glue to secure the ears in place and to keep them from wobbling, then let dry for a couple of hours.

PUTTING THE CAKE TOGETHER

First, I covered the cake board the night before and embossed it with a Happy Birthday mat. I hot-glued the ribbon around the sides of the board. You don't want to do the cake board more than a day in advance or it will start to crack, yet you really can't do it right before you need it because when you add the cake, the fondant will move because it will be too soft. I find that doing it the day before is perfect. I wait at least two hours before adding the ribbon.

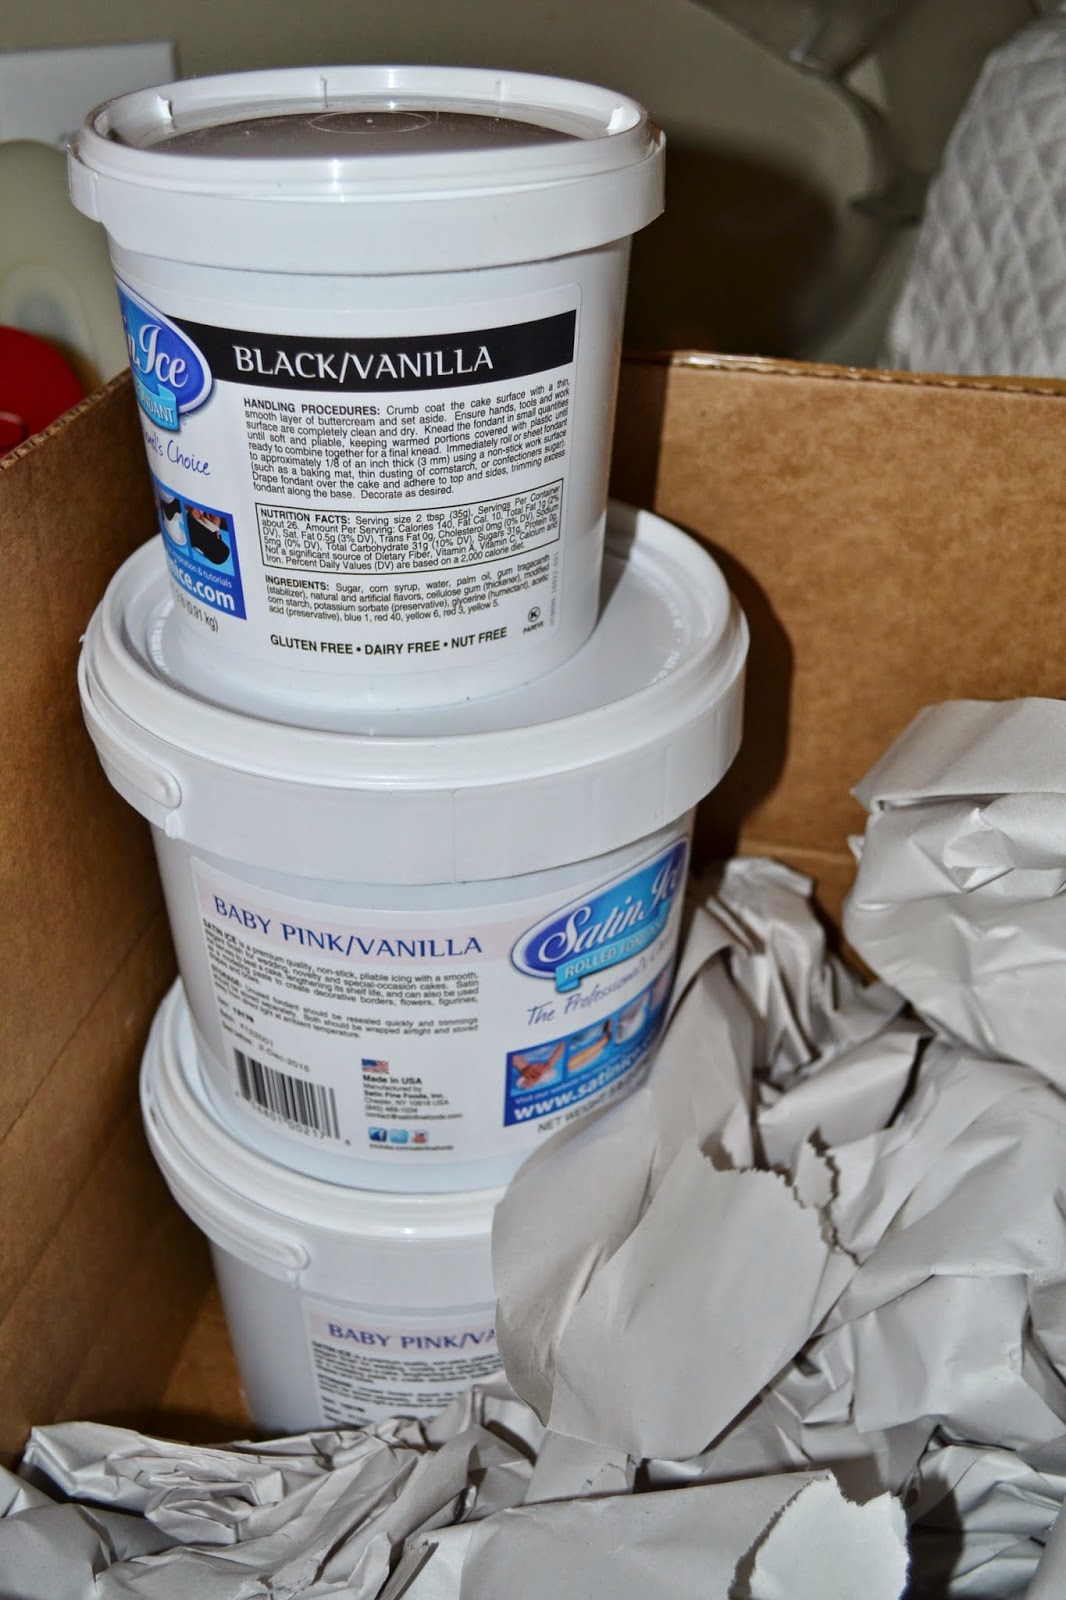
The next day, I covered the cake in blue fondant, baby blue Satin Ice, right from the bucket. To make the fence, I started with the "gate." I rolled out a piece of fondant, used a "wood grain" mold, and then used an oval cutter to cut into the fondant. I then cut off the base, so that it was level, cut a heart in the middle with a tiny cutter, then used a ruler and X-acto knife to cut apart into pieces. I used gum glue on the back of the center piece and added that onto the cake first, then spaced out the rest accordingly.


I then rolled out a long, very thin pieces of fondant, used the wood grain mold again, and gum-glued the pieces around the circumference of the cake, the same height all around. I made this part very thin because once the fence posts are added on top, I didn't want them to look like they were bulging.


I started adding fence posts on top of those. After that was done, I added a latch and tiny hinges to the gate, and used the end of a paintbrush to indent where the nails would go.

 I then went around the outside of the cake and added the stems of the flowers, using green fondant in an extruder. I added the flowers on top with royal icing, and added the leaves to the bottom.

PROBLEM WITH CRACKING
When you are adding a heavy figurine to the top of a cake, make sure to place dowels underneath where that figurine will sit. I did that in the end, but first I just placed the rabbit on top to check out the placement with the watering can, etc., and that was just too much weight for even a few minutes. The back of the cake developed two cracks. I couldn't repair them so I had to cover them up. I had already used my flowers so I quickly made little bluebells out of some blue gumpaste and added them with royal icing. Came out nice, eh? Looks like they were meant to be there! Ah, the tricks of the trade!!

You can add dowels in the middle then cover it with an embossed circle of fondant that has dried (or any other shape), like I did below. I did this to place my rabbit on once I got to the site. I packed him in a box and secured with plastic wrap and tissue paper.


FINAL CAKE
And here he is! Our little Peter, getting into trouble in the garden!


Saturday, April 4, 2015


GIFT / GARDEN CAKE


My customer wanted a birthday cake for her mother's 65th birthday. Her mom likes a lot of things, especially gifts, gardening, Bruce Springsteen, and the colors red, orange, and purple. 
(Note to self! She is not a pink girl.)

So the first thought was to make a gift cake, square, with a simple ribbon, bow, and tails. But I wanted to add something garden-related. I decided to add a garden trowel and garden gloves, and make the trowel a gift, with a small bow and name tag. I thought that if I added a rose or two to the cake "gift," as well as some roses on the cake board, I could make the ideas work.

It was easy enough to put in some of the mother's favorite colors. (Too bad I couldn't work in a Bruce Springsteen reference! And believe me, I tried to think of something!)

So I needed:
1. Cake that looks like a gift
2. Garden trowel
3. Garden gloves
4. Name tag 
5. Large bow for cake, small bow for trowel
6. A cool cake drum 
7. Roses...

Here are the steps that I took to put this project together. 


COVER CAKE DRUM
I covered the cake drum with this gray fondant, used a long dowel to make the grooves while the fondant was still soft; after it dried, I dusted the "lines" with dark purple dust.


GLUE RIBBON ONTO DRIED CAKE BOARD


ADD CAKE 


 ADD RIBBONS (FONDANT)

ADD TAILS (FONDANT)

ADD BOW (GUM PASTE / MADE NIGHT BEFORE)


ADD ORANGE ROSEBUD TO CAKE 


ADD TROWEL AND GIFT CARD (BOTH GUM PASTE)

ADD GARDENING GLOVES (GUM PASTE)
Using my hand as a pattern, I cut out a pattern then used the pattern to cut the gum paste. After the gum paste was dry, I painted small red roses with dark centers, added gold trim, and a little stem. I glued black fondant strips around the wrists with edible gum glue.

ADD PIPING 
(but I should have done this step in the step right after I added the ribbon)


ADD ROSES AND "DIRT" (crumbled brownies)

Let me know if you have any questions. Email me at CakesoftheHamptons@aol.com. I'll be happy to help you!


Fleur-de-lis / Sweet 16 / Steps to Make a Cake


Fleur-de-lis Cake


The customer asked for a Sweet 16 cake with a Fleur-de-lis on the front. She envisioned a two-tier round in pink and black. I will show you the steps to prepping for a cake like this.

First I went on eBay, my favorite spot, to search for what I needed. First, I found a number "16" for the top of the cake. I wanted something with bling but did not want anything distasteful. 

I found a beautiful "16" in rhinestones. The picture doesn't do it justice!


There were several Fleur-de-lis silicone molds listed on eBay. I chose this mold because of its detail. Once I paint it, it will be so nice!

I ordered my pink and black fondant. I made sure I had enough cardboard cake rounds, cake drum, and a box to transport it.

I made a sketch of the cake, below, then pulled out my pans and cake drum.


I also pulled out whatever I would need: dowel, pearl mold, black pearls for bottom quilted cake, white pearls for middle of black bow (two sizes here since I'm not sure which size will look better), and pink and black ribbon for the cake drum...not sure yet which one will look best so I brought both. If the pink doesn't match the fondant exactly, then I will go with black.


TIME TO START BAKING!
Pull out the recipes!
RED VELVET


First one out of the oven and it's a beauty!


Cover bottom cake tier with fondant. Use diamond cutters. Go around base, then do top diamonds. Stay even as you go around. I added pearls without using water or glue. A few popped out on the drive to the venue but a little vodka and a tiny paintbrush helped to affix the loose pearls. (Vodka dries quickly, in case of drips. You could also use a tiny dot of royal icing, but if you do make sure it matches the fondant as exactly as you can get it and clean any excess with tiny paintbrush barely damp with vodka or any other clear alcohol.)


Put bottom cake on cake drum. Add second tier. Secure with dowel run down through the top of the cake and into the cake board.

To hide the hole caused by the dowel, as well as add extra support to the metal "1 and 6," I made fondant diamonds to add to the top of the cake.

I added pearls to the diamonds on top.

I added the Fleur-de-lis and after it was dry, I hand painted it with edible silver paint.

Here is the final cake!


Thursday, March 26, 2015

Ring Ding Cake


I got a request for a Ring Ding cake. Now, once you think about it, a Ring Ding just looks like a plain round cake covered in chocolate. So my challenge was not making this type of cake, but how to present this type of cake!

First I looked up a recipe online for a Ring Ding cake and for the filling.

Next, I bought a box of Ring Dings from the grocery store and took it to a local blueprint company. I had him scan in every side of the box and re-size so that it would fit onto a half-sheet bakery box and therefore look like a giant Ring Ding box.

Below: small "real" Ring Ding box, half-sheet bakery box, and printouts that were scanned and enlarged.


The blueprint guy was even able to change the "expiration date" to the date of the birthday party!


Next! Time to concentrate on the interior of a Ring Ding box! So this is what a real Ring Ding looks like...TWO in a pack!


I decided to duplicate a real Ring Ding. So I made enough cake for two cakes.

Here is the first Ring Ding cake with the filling. I crumb coated, then chilled. 
Once firm, I covered in chocolate ganache.


I covered the cake board.


I realized that in order to make it look like a real Ring Ding, I needed to cover it in clear wrap. It just so happened that while I was in the grocery store, I passed a box of clear cellophane! I also needed to glue some more advertisements to the final "package of Ring Dings."


I put the cake onto the cake board, covered it in cellophane, then used a blow dryer to "seal" the edges!


Happy birthday, Simon!

Update:
From the customer the next morning --

"Thank you so much for the wonderful Ring Ding cake. My husband and all of our guests were in awe. In addition to the outstanding presentation, everyone raved about how the cake tasted."

THIS is why I do what I do! : )