

I made the letters, trees, snowflakes, etc., ahead of time out of gum paste but you can use fondant if you don't want them to dry rock-hard. On the day I decorated the cake, I also made some last-minute snowflakes out of fondant. I let everything "set," then dusted with white pearl dust.
The trees were made from a silicone mold. (globalsugararts.com)
The snowflakes are the plunger-type...just make sure the surface
underneath the fondant or gum paste is dusted so that the plunger works
easily.

Now, let's get started on the cake drum!
Below: Wet the cake drum with water, top and sides. I used to wet with piping gel but read that water worked and have been using it since. I find that I almost always need to use some type of imprint mat or laser roller, otherwise every little bubble shows on the plain fondant. If you have any tips for me about this, let me know by emailing me at CakesoftheHamptons@aol.com. Thank you in advance for any tips!
Wet cake drum and sides

Roll out fondant

Cover wet cake drum with fondant and smooth with smoother. If you have any air bubbles, pierce near its base with a needle then smooth over with smoother

Cut off most of the excess fondant and put back in fondant bag for re-use

Trim the rest of the fondant and dispose of wet fondant

Use snowflake plungers of various sizes to make an imprint on the fresh (still soft) fondant

Use fondant smoothers to smooth sides

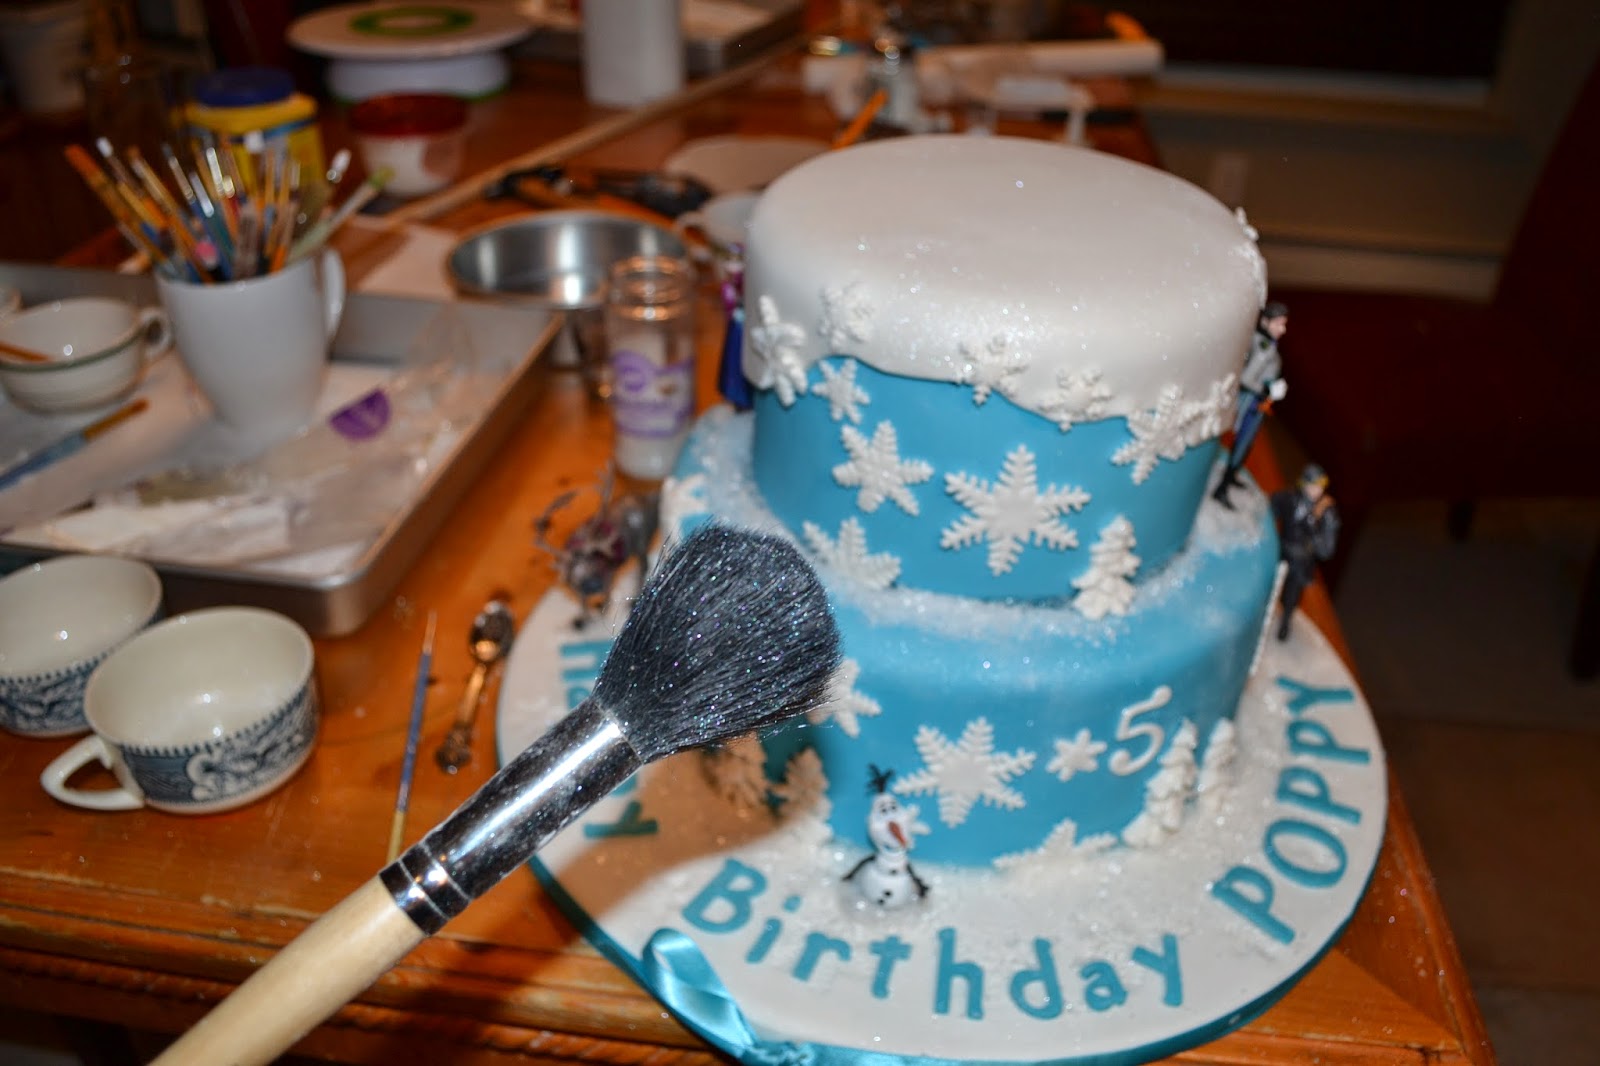
Brush off excess cornstarch with a large, soft brush

Let the fondant dry, usually overnight, then add the ribbon. I tried to make these a couple of days in advance but found that the fondant dried out and cracked.
About ribbon: if using ribbon with ridges (grosgrain), I use hot glue. If using satin ribbon, I use double-sided tape to attach. (Hot glue stains show underneath satin ribbon.)
I then glued the letters on with royal icing. A couple of the letters seemed like they weren't going to "stick," so I used a very small paintbrush and added a LITTLE vodka around the edges of the letter to get the gum paste wet, then I pressed the letters down a little. Hint: this won't work on gum paste that isn't hardened...it will only make the colors run.
Usually I put the letters on last but in this case I needed to see how the spacing would be because there were so many letters. I added the letters and when I finally placed the cake onto the cake drum, I did it from the back instead of the front... (and hoped for the best when centering the cake! ha ha)

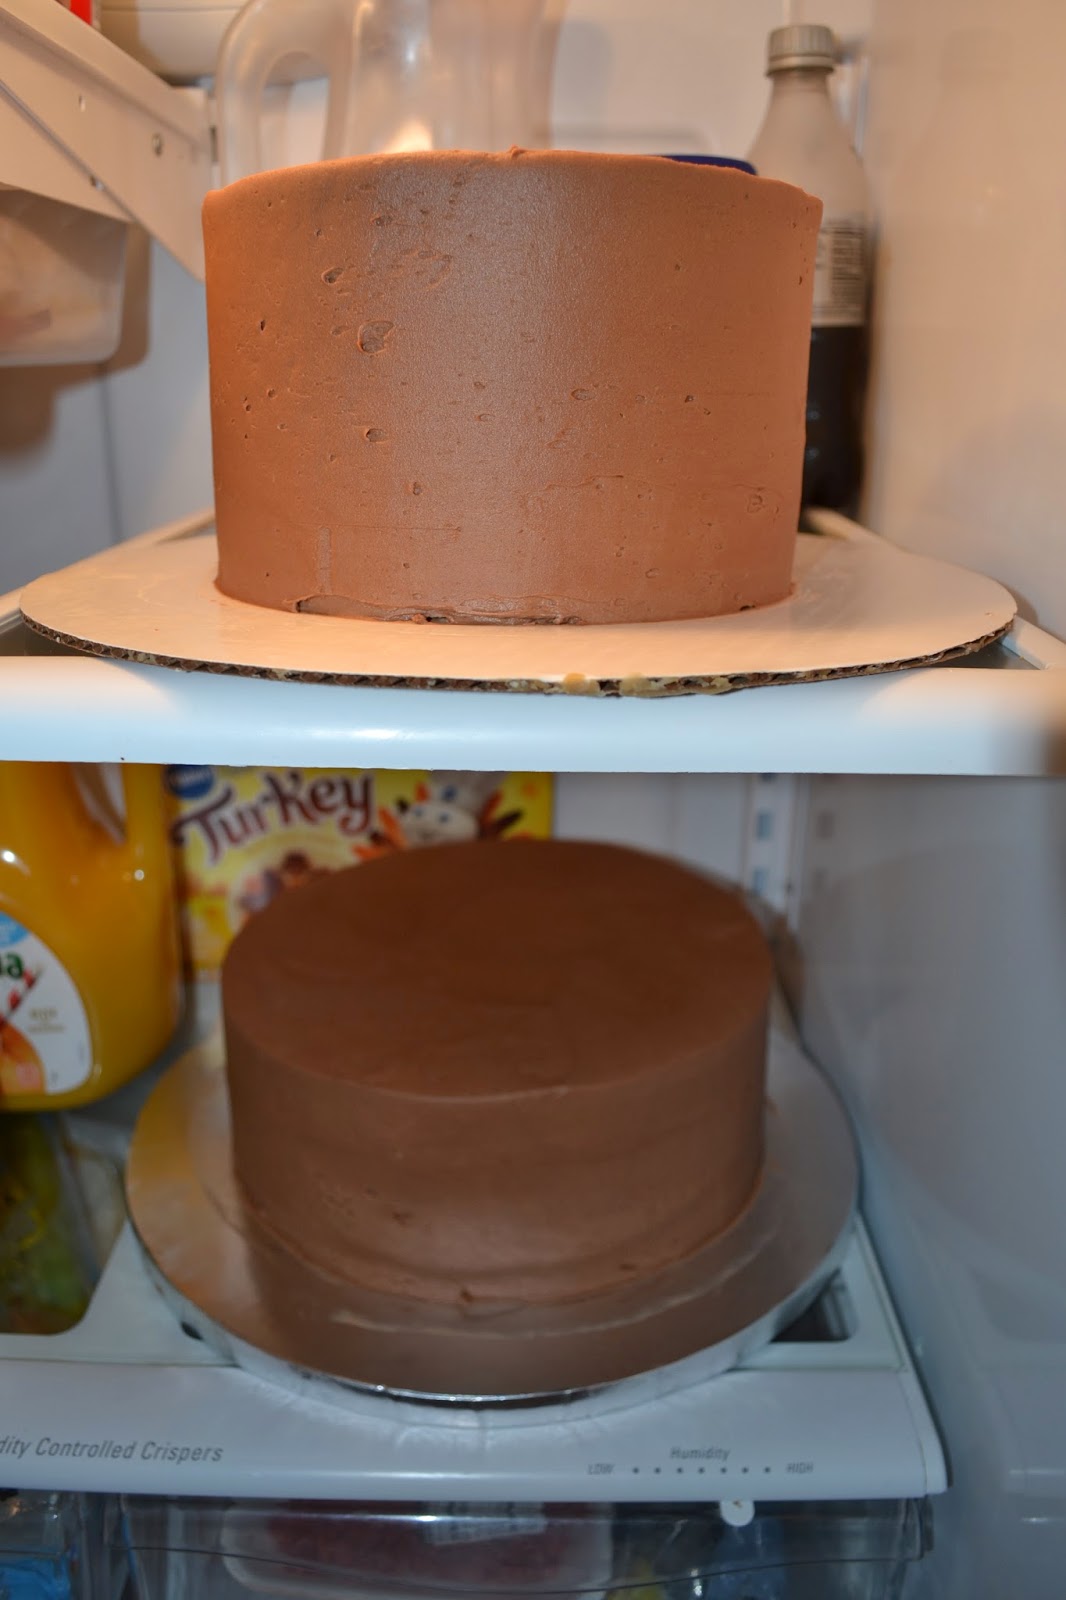
For beginners: Make sure that each cake has a cardboard round underneath! They stay there even when you stack them. For example, an 8" cake would be stacked with the 8" cake round still underneath for support. Here, below, you see the 8" (with an 8" round underneath) but placed on top of a larger round, just for ease in getting it in and out of the fridge while it "sets."
I crumb-coated the cakes then put a second coat on and refrigerated them until they were hard. I try to put cakes in the 'fridge overnight, or at least leave in for six hours. Make sure to take out anything with a strong odor, like onions, Italian (garlic), Chinese, or Mexican food.
I first covered the bottom tier in fondant and cut away the outside excess fondant for re-use, leaving a little excess fondant (about 1/2" around the edge of the cake). I then trimmed closer to the cake and threw out this fondant because the fondant so close to the cake will have a little buttercream in it and this cannot be reused. (Refer to covering cake drum, above.) I used my fondant smoothers to smooth out any bumps, and to clean up edges.

For beginners: Did you know that you must place wooden or plastic dowels in each cake to support the cake on top? Otherwise the weight of the top cake will smash the cake underneath!

Top tier: same thing with the fondant...

I put some icing on top of the bottom tier (again, to act as "glue"), then added the top tier. I ran a sharpened dowel all the way down the center of both cakes and into the cake drum. (I use a simple pencil sharpener.)
I filled in the hole with a little buttercream. Note: If you are doing a cake where NOTHING is going on top, email me for directions on how to secure your cake with a dowel. It's a little tricky but must be done.
I filled in the hole with a little buttercream. Note: If you are doing a cake where NOTHING is going on top, email me for directions on how to secure your cake with a dowel. It's a little tricky but must be done.

I added the white fondant "snow" (below) to the top tier. The top tier was a 7" round; I rolled out some fondant to use as "snow"...not too thin but not too thick...and GENTLY placed a 7" cardboard cake round on top of the rolled-out white fondant so I could measure the fondant snow. (I did it gently so it would leave no circular imprint.) I then used my pizza cutter to make gentle swooping motions and cut outside of that 7" cardboard round. I had done this once before without measuring the top of the cake and using a round but the snow way too lopsided.
I "wet" the top of the cake with just a tiny bit of water, using a nearly-dry brush, so that the fondant "snow" would stick. Make sure to wet a LITTLE on the underneath edges of the snow, too, so the snow sticks to the sides but DON'T LET THE WATER DRIP. You can see that there is a problem with the "snow" crinkling a little but I didn't worry about it because I knew I'd be adding snowflakes.
I "wet" the top of the cake with just a tiny bit of water, using a nearly-dry brush, so that the fondant "snow" would stick. Make sure to wet a LITTLE on the underneath edges of the snow, too, so the snow sticks to the sides but DON'T LET THE WATER DRIP. You can see that there is a problem with the "snow" crinkling a little but I didn't worry about it because I knew I'd be adding snowflakes.

Two things about this picture, below:
1. I used the Wilton large sugar crystals around the base of the cakes. I attached using clear piping gel. I had put the gel inside a piping bag and used a #2 tip, then spooned the crystals on with a tiny spoon.
2. As you can see, the cake still has a lot of cornstarch on the sides. Usually the cornstarch is absorbed and you can't see it after awhile, but I was concerned because the blue was so dark, so I used a medium-sized paintbrush and very lightly and VERY gently "painted" the cake with vodka. It dries very quickly. The problem with this is I pressed too hard with the brush in one spot and it put a small dent in my cake so I covered it with a giant snowflake! All honest cake decorators will admit that one of the key elements in having a beautiful cake is being able to cover up your mistakes.

I started adding the snowflakes and trees; I attached by putting a little vodka on the back of the snowflakes and trees. To attach the animals and figurines to the cake drum and cake, I put piping gel around their feet and added sugar crystals


After the cake "set" and was totally dry, I used my large, soft brush and brushed the entire cake with white pearl dust
The Elsa figurine, for some reason, is made where it doesn't sit level; she leans too forward for my liking. So I cut out a big and thick "snowflake" from fondant, put a little buttercream in the middle to act as a glue, and pushed Elsa into the snowflake. I then attached them to the top of the cake (again, using a little buttercream between the snowflake and the cake, as a "glue"). (Note: the snowflake with the number 5 on it was made from gum paste a couple of days earlier and had two pieces of thick spaghetti in the "legs" of the snowflake. I use spaghetti so that everything is edible.)
Final product!

Feel free to email me with any questions at:
CakesoftheHamptons@AOL.com
Happy baking!
- Diane
No comments:
Post a Comment